Most of my cloth diapers are 2 years old now and just as everyone on the interweb claimed would happen, my elastic needs replacing. I bought a bunch of elastic from Joann's (it wasn't expensive at all, I think $6 worth finished up 11 diapers).
I used three pieces of elastic for each diaper (a piece for each leg and a piece across the back). All three pieces measured 5 1/4" but if I was to do it again, I'd do more like 4 3/4". This is still allowing for room to make your seam and cut off the excess.
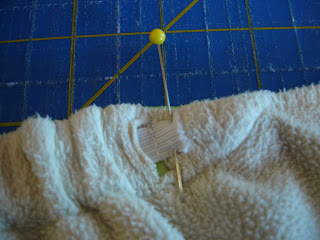
I cut into the fleece at each end of where the old elastic was. Fleece doesn't fray, so I never even bothered to sew it back together. I did this a few weeks ago, the diapers have been through the wash quite a few times now, and they work exactly the same as they did before, but better because the elastic is tighter, of course. So don't be afraid to cut that fleece!
Cut out the old yucky yellow elastic!
Your diaper should lay out nice and flat. If you're the type of person to ever want to make your own all-in-one one size diaper some day, now is the perfect time to trace out that pre-elastic shape!
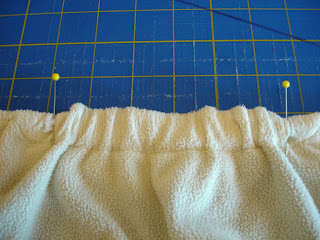
Now pin your elastic in place.
By the way, I didn't have elastic with the nice little button holes for adjusting the legs. Honestly, I hardly EVER adjust that part, and that's after having a little baby AND a toddler in the diapers. For my babies, they're legs are thicker when they're little and then skinnier when they're older, so the leg openings stay the same. It's the waist that changes more, but even that doesn't change all that much. All that to say, I skipped the adjustable legs altogether and ignored the buttons.
Then sew up and down across that elastic a few times.
Remove the pins and trim off the excess elastic.
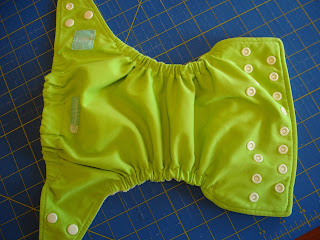
Just like new!


No comments:
Post a Comment